A cross platform machine learning deployment solution.
Enable fast and efficient deployment of deep learning neural network models on embedded devices.
Uses a separated front-end/back-end design. I.e. a single model can be transplanted and deployed onto multiple hardware platforms like CPU, GPU, NPU and so on.
Code once, run anywhere – and make use of acceleration.
We want to develop on x86, and deploy to ARM and NPU accelerator.
Installation
Follow these steps for installing Tengine.
Make a workspace and then download the Tengine code:
cd ~
mkdir Tengine
cd Tengine
git clone -b tengine-lite https://github.com/OAID/Tengine.git
Then setup a build directory to store the compiled files:
cd Tengine-Lite
mkdir build
cd build
Then build the files. Use -j 12 when calling make to use multi-core and speed up compilation. Change 12 to however many threads/cores the PC has.
cmake ..
make -j 12
make install
Confirm the installation was okay by using tree.
sudo apt-get install tree
tree install
The output should look like this
install
├── bin
│   ├── tm_classification
│   ├── tm_classification_int8
│   ├── tm_classification_uint8
│   ├── tm_efficientdet
│   ├── tm_efficientdet_uint8
│   ├── tm_landmark
│   ├── tm_landmark_uint8
│   ├── tm_mobilefacenet
│   ├── tm_mobilefacenet_uint8
│   ├── tm_mobilenet_ssd
│   ├── tm_mobilenet_ssd_uint8
│   ├── tm_retinaface
│   ├── tm_ultraface
│   ├── tm_yolofastest
│   └── tm_yolov5
├── include
│   └── tengine
│       ├── c_api.h
│       └── defines.h
└── lib
    ├── libtengine-lite.so
    └── libtengine-lite-static.a
Test inference
The examples page walks through running Tengine demos.
First make a folder to store the models in the root of the Tengine directory.
cd ~/Tengine/Tengine-Lite
mkdir models
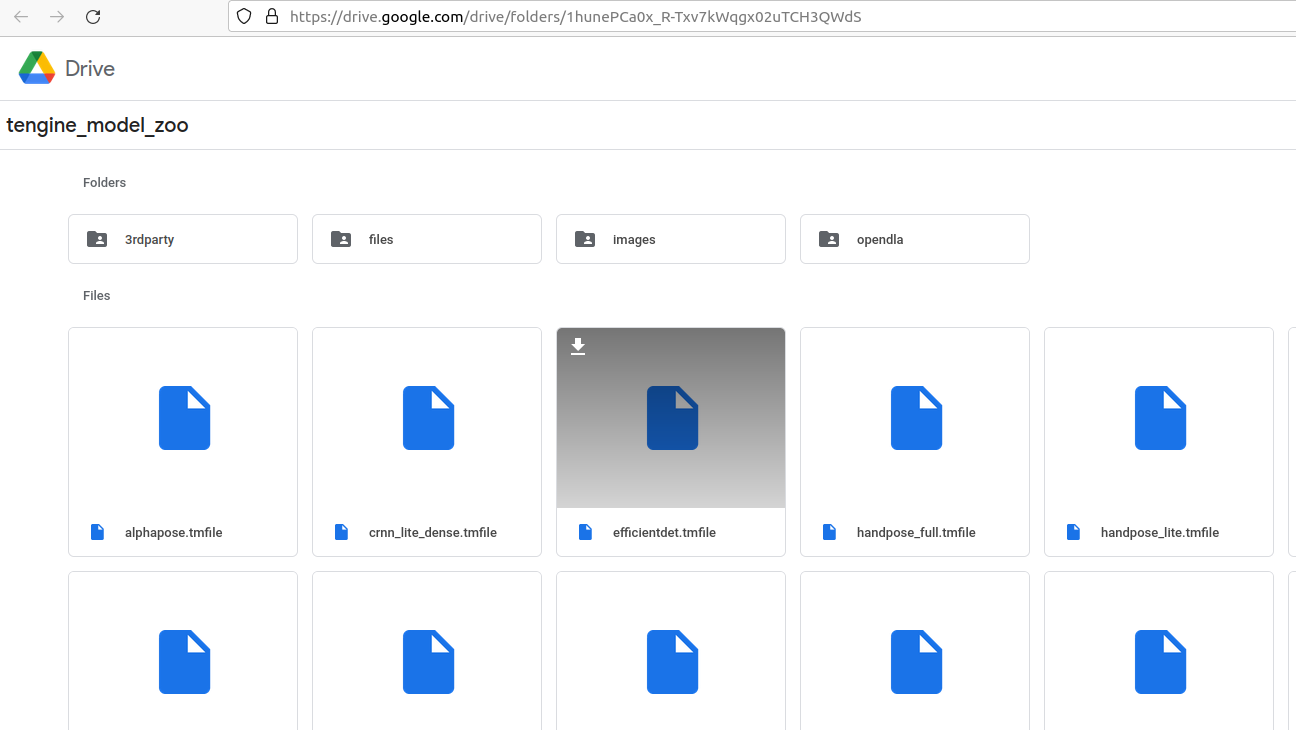
- Download the
efficientdet.tmfilemodel from the model zoo. Save it in to the models directory.
Create another folder to store our test images.
mkdir images
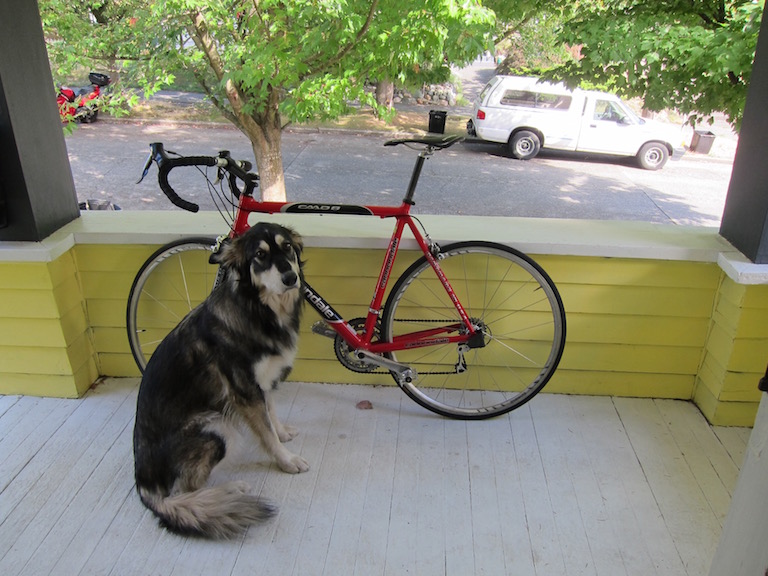
Then download an image to detect, e.g.
curl https://camo.githubusercontent.com/beb822ba942ae1904a1355586fd964b8a2374a6ebf31a1e10c1cf41243e3d784/68747470733a2f2f7a332e617831782e636f6d2f323032312f30362f33302f5242566471312e6a7067 --output images/ssd_dog.jpg
Use the command from the example – it exports the path for the Tengine-library first, and then runs the detector.
export LD_LIBRARY_PATH=./build/install/lib
./build/install/bin/tm_efficientdet -m models/efficientdet.tmfile -i images/ssd_dog.jpg -r 1 -t 1
Should see some output – the detector worked successfully.
dan@antec:~/Tengine/Tengine-Lite$ ./build/install/bin/tm_efficientdet -m models/efficientdet.tmfile -i images/ssd_dog.jpeg -r 1 -t 1

Image height not specified, use default 512
Image width not specified, use default  512
Scale value not specified, use default  0.017, 0.018, 0.017
Mean value not specified, use default   123.7, 116.3, 103.5
tengine-lite library version: 1.5-dev

model file : models/efficientdet.tmfile
image file : images/ssd_dog.jpeg
img_h, img_w, scale[3], mean[3] : 512 512 , 0.017 0.018 0.017, 123.7 116.3 103.5
Repeat 1 times, thread 1, avg time 512.70 ms, max_time 512.70 ms, min_time 512.70 ms
--------------------------------------
17:  80%, [ 132,  222,  315,  535], dog
 7:  73%, [ 467,   74,  694,  169], truck
 1:  42%, [ 103,  119,  555,  380], bicycle
 2:  29%, [ 687,  113,  724,  156], car
 2:  25%, [  57,   77,  111,  124], car
